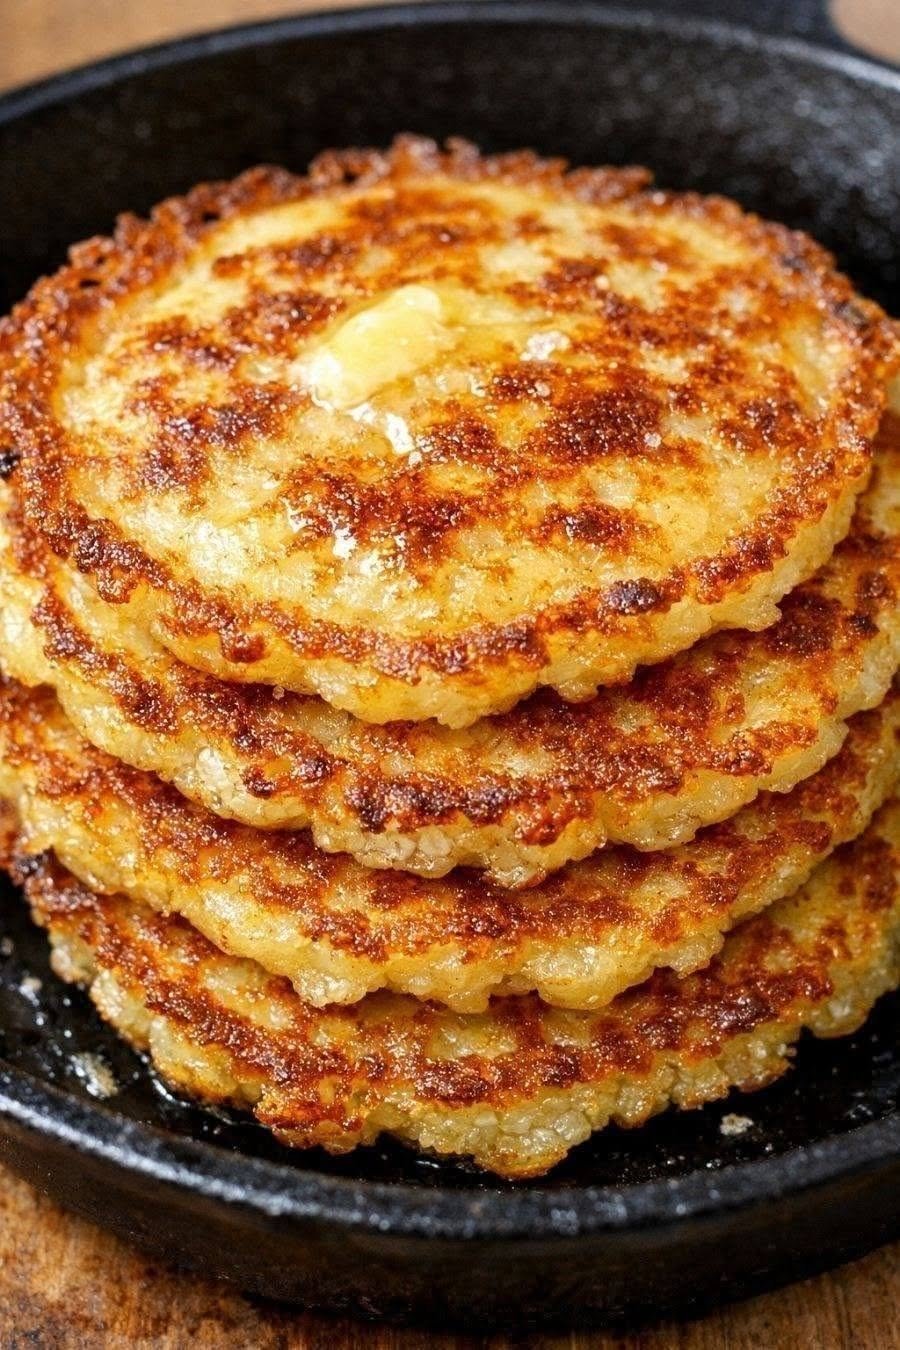
Crisp, lacy edges, a golden-brown crust and a soft, tender center: these gluten-free rice pancakes are what leftover rice was made for. Rice is naturally gluten-free, so nothing here relies on a special flour blend. The pancakes are pan-fried in butter until deeply golden, then stacked and finished with a pat of butter that melts into every crevice. Serve them for breakfast with eggs, alongside soup, or as a snack. The whole batch takes about 25 minutes.
Why Homemade Makes All the Difference
Store-bought gluten-free patties are often pale and greasy, and many rely on gums and starches to hold together. Cooking them yourself in a hot skillet gives you a crust you can hear when you bite into it. You control the salt, the fat and every ingredient on the label, which matters when you’re avoiding gluten. They’re also cheap, since the main ingredient is rice you already have in the fridge.
Why Gluten-Free Rice Pancakes Are Trickier Than They Look
These pancakes have very little holding them together: cooked grains, egg, cheese and a small amount of starch. That makes three things important. First, the rice must be cold and dry. Fresh, steamy rice is too wet and sticky, and the pancakes fall apart in the pan. Second, the pan must be properly hot before the pancakes go in, or they soak up fat instead of forming a crust. Third, you must leave them alone while the crust forms, because flipping too early tears the underside off. The starch in this recipe replaces the flour in a regular version and gives the crust extra crispness.
Ingredients (Makes 8 Pancakes)
- 3 cups (about 500 g) cooked and cooled rice, preferably day-old short- or medium-grain rice
- 2 large eggs
- ½ cup (50 g) finely grated Parmesan cheese
- 3 tablespoons (25 g) cornstarch, or ¼ cup (35 g) white rice flour
- ½ teaspoon fine sea salt
- ¼ teaspoon freshly ground black pepper
- ½ teaspoon garlic powder
- 2 tablespoons finely chopped chives or scallions (optional)
- 3 tablespoons (45 g) unsalted butter, for frying
- 1 tablespoon neutral oil, for frying
- Extra butter, for topping
A note on ingredients: short- and medium-grain rice contain more starch and stick together better than long-grain rice, which makes them ideal here. Long-grain rice still works, but press the mixture a little firmer. Rice flour gives a slightly crisper crust than cornstarch, while cornstarch gives a softer center. Both work well.
Important Gluten-Free Note
Rice, eggs, butter and cheese are naturally gluten-free, but packaged ingredients can contain hidden gluten. Check the labels on the garlic powder, cornstarch or rice flour, and Parmesan, and choose products marked gluten-free. If you’re cooking for someone with celiac disease, use a clean pan, spatula and work surface, and avoid cooking these in a skillet that’s been used for wheat-based foods without washing it first.
Step-by-Step Instructions
1. Prepare the rice. If your rice has been in the fridge, break up any large clumps with your fingers. If it feels damp, spread it on a plate for 10 minutes so the surface moisture evaporates.
2. Mix the batter. In a large bowl, whisk the eggs with the salt, pepper and garlic powder. Add the Parmesan, cornstarch and chives, and stir until combined.
3. Fold in the rice. Add the rice and fold it in with a spatula until every grain is coated. The mixture should look sticky and hold together when you squeeze a small handful. If it seems loose, add one more teaspoon of starch.
4. Rest the mixture. Let the bowl sit for 10 minutes. This gives the starch time to absorb the egg, which helps the pancakes hold their shape in the pan.
5. Shape the pancakes. With damp hands, scoop about ⅓ cup (80 g) of the mixture and press it into a round patty about 3½ inches (9 cm) wide and ½ inch (1 cm) thick. Press firmly and tidy the edges. Set the patties on a plate. You should have 8. Wet your hands again if the mixture starts to stick.
6. Heat the pan. Set a large cast iron or heavy skillet over medium heat for 2 to 3 minutes. Add 1½ tablespoons of the butter and half the oil. The pan is ready when the butter foams and the foam begins to subside.
7. Cook the first side. Carefully lay 3 or 4 patties in the pan, leaving space between them. Press down lightly with a spatula. Cook for 4 to 5 minutes without moving them, until the underside is a deep golden brown and the edges look crisp. Lift one edge to check before flipping.
8. Flip and finish. Flip the pancakes with a wide spatula and cook the second side for another 3 to 4 minutes, until it matches the first. If they brown too fast, lower the heat slightly.
9. Drain and repeat. Move the finished pancakes to a wire rack. Wipe out the pan if there are burnt bits, add the remaining butter and oil, and cook the second batch the same way.
10. Serve. Stack the pancakes on a plate or return them to the warm skillet. Place a small pat of butter on the top pancake and let it melt over the stack. Serve right away while the edges are crisp.
Serving Ideas
These pancakes go well with a fried or poached egg on top for breakfast. For a savory plate, serve them with sour cream and chives, or with yogurt mixed with garlic and lemon. For something sweeter, try honey or maple syrup, since the salty crust contrasts nicely with the sweetness. They also work as a side for grilled chicken, roasted vegetables or a bowl of gluten-free soup.
Flavor Variations
Add a handful of shredded cheddar or mozzarella for a cheesier center. Stir in finely diced red pepper, corn or cooked spinach (squeezed dry) for extra color. For a spicy version, add a pinch of chili flakes or smoked paprika. You can also swap the garlic powder for onion powder or dried thyme.
Tips for Success
Use cold rice, since it’s the single biggest factor in how well the pancakes hold together. Don’t crowd the pan, because too many patties lower the temperature and make them steam instead of crisp. Press the patties firmly when shaping them, as loose patties break apart.
Resist the urge to flip early. The crust needs uninterrupted contact with the hot pan to release cleanly. If a pancake sticks, give it another minute. Keep the heat at medium, since high heat browns the outside before the inside is hot. Use a wide spatula and support the whole patty when you turn it.
Storage and Reheating
Cooked pancakes keep in an airtight container in the refrigerator for up to 3 days. For longer storage, freeze them in a single layer on a tray, then move them to a freezer bag with parchment between each one. They keep for up to 2 months.
To reheat, avoid the microwave, which makes them soft. Warm them in a dry skillet over medium heat for 2 to 3 minutes per side, or bake them at 400°F (200°C) for 8 to 10 minutes, until hot and crisp again. Frozen pancakes can go straight into the oven. You can also shape the raw patties ahead, refrigerate them for up to a day, and fry them fresh.

